

14 Apr Reusable Beeswax Wraps!
Reusable beeswax wraps can really help you lower your plastic use in the kitchen. Instead of using single-use plastic items like Ziploc bags and cling-wrap, you can make your own reusable, washable beeswax wraps to pack up your or your kids’ lunches and snacks!
What You Will Need:
- Beeswax Pellets
- Fabric of your choice
- Scissors
- Parchment paper
- Baking sheet
- Oven
- Hanger (optional)
- Binder clips (optional)
- Brush (optional)
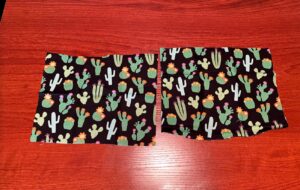
Step One: Preheat the oven to 200℉. Layout parchment paper onto the baking sheets. Begin to cut your fabric in whatever sizes you want.

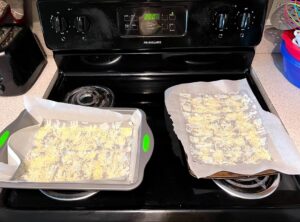
Step Two: Lay your cut fabric (Design side face down) onto the parchment paper on the baking sheet. As best as you can, evenly spread out beeswax pellets onto the fabric. *TIP: Using less is better than more. If after you take it out you feel like you want to add more to the corners or edges or you missed a spot, you can always add more wax there and place it back into the oven*
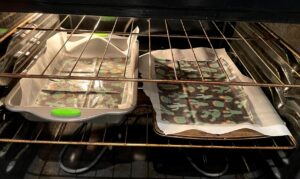
Step Three: Put your baking sheets into the oven for 6-8 minutes, or until the wax has completely melted.
Step Four: Carefully take the sheets out of the oven and using an old paintbrush (optional) spread the melted wax to make sure everything is covered.
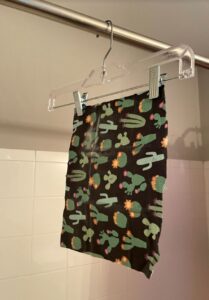
Step Five: After a couple of seconds out of the oven, carefully pick up the corner of your fabric and take it off of the parchment paper. You can use a hanger or binder clips to hang the fabric up until completely dry.
How to care for your beeswax wraps:
Wash by hand in cool water with mild dish soap. Air dry on a drying rack or clothesline. Make sure to not use any heat as it could cause the beeswax to melt. The good thing about making these yourself is that if you need to, you can remelt some new wax onto the fabric, and voila! Brand new beeswax wraps!
Check out a step-by-step video to make your own beeswax wraps! https://youtu.be/ofbdTqS-f3U